
Traditionally, trips away in campervans have seasonally been limited to the warmer months of sunshine and longer days, but increasingly people are opting to give their vans all season utility by the installation of heaters and insulation.
Insulating your van is best done at the very start of a van conversion as otherwise due to its placing in the vehicle you will have to strip out your existing interior to do so. Doing so will make it warmer and more comfortable in cold conditions as well as cooler in warm and if a heater is fitted it will make it more efficient and cheaper to run.
With the inclusion of a vapour barrier, it will help to deal with condensation and its damaging effects on body panels and seams over time.
This blog aims to be a guide to types of installation materials available and the process of winterising your Camper with them.
Jump to:
Different Campervan Insulation Materials
How to Install Your Chosen Insulation into Your Campervan

Different Campervan Insulation Materials
There are a wide range of insulation materials available on the market, both recycled and otherwise which vary in heat retention, thickness, cost and ease of fitting.
The main types are as follows:
Thermafleece Sheeps Wool
This is a sustainable choice being made of natural wool and recycled polyester to help bind it into sheets. It is available in a wide range of widths and thicknesses to suit varying panel depths of your van.
It has some sound proofing qualities and is good at managing moisture. It is easily cut or torn to size prior to fitting with spray adhesive.
Lightweight Polyester Fibre
Easy to handle in the same way as thermafleece, this is an all-polyester fibrous roll often made from recycled plastic bottles and generally comes in 50mm thick rolls.
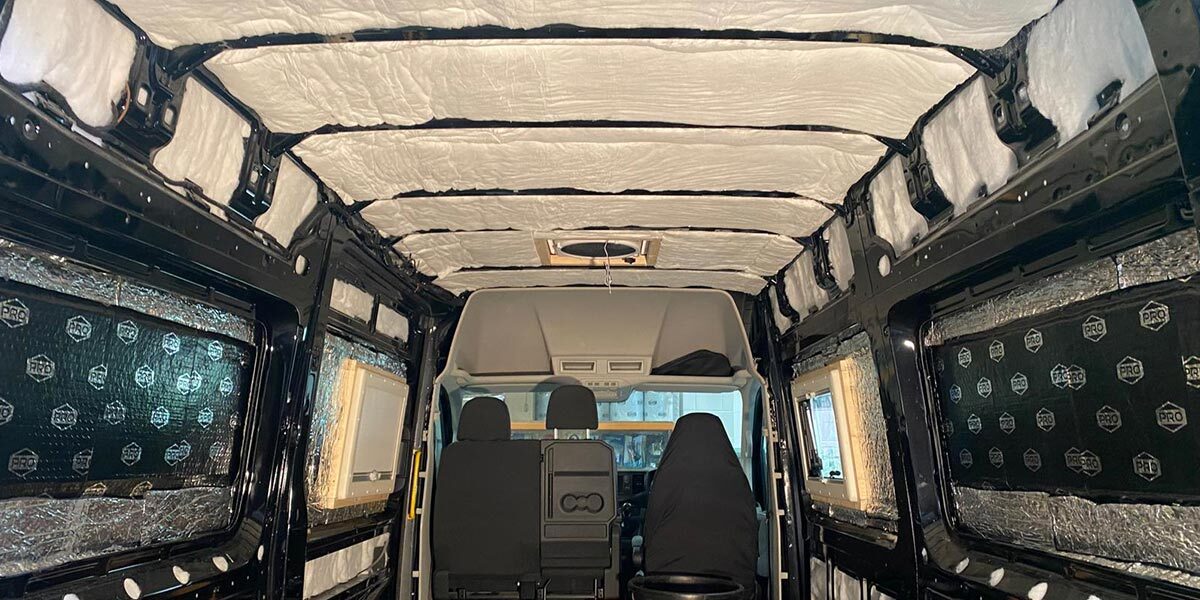
Rockwool Insulation
Something you’re probably already familiar with from that awful itching you get in your attic on a hot day, Rockwool can be a great way to insulate your camper.
Once fitted and sealed into your van it will be no problem, just cover up and use a mask when you’re installing it! Lower cost and high r values still make it worth considering.
Foil Faced Self-Adhesive Foam
Generally 7-10mm thick, this foam is a great choice when panel depths are small. It is easily cut to fit with a knife or scissors and is self-adhesive, so no other glue is required.
Foam Board Insulation
This is the same as is used in the building trade. It is rigid, easily cut with a bread knife or hand saw and fixed in place with spray adhesive. It has a high r value and is good for creating flat surfaces, especially under floors. In real terms it is non compressible unlike fleece which will have a lower r value if it’s compressed by packing too tightly.
Spray Foam
While not something you’d want to insulate your whole camper with, spray foam is useful for filling smaller gaps and hard to reach areas, but care must be taken not to over fill panels as it may be difficult to fit interior lining after.
Head over to Just Kampers and check out their extensive range of campervan parts and accessories, including sound deadening and insulation!
How to Install Your Chosen Insulation into Your Campervan
Our colleagues over at Just Kampers, our sister company, have a great how-to video covering camper insulation, which you can view here.
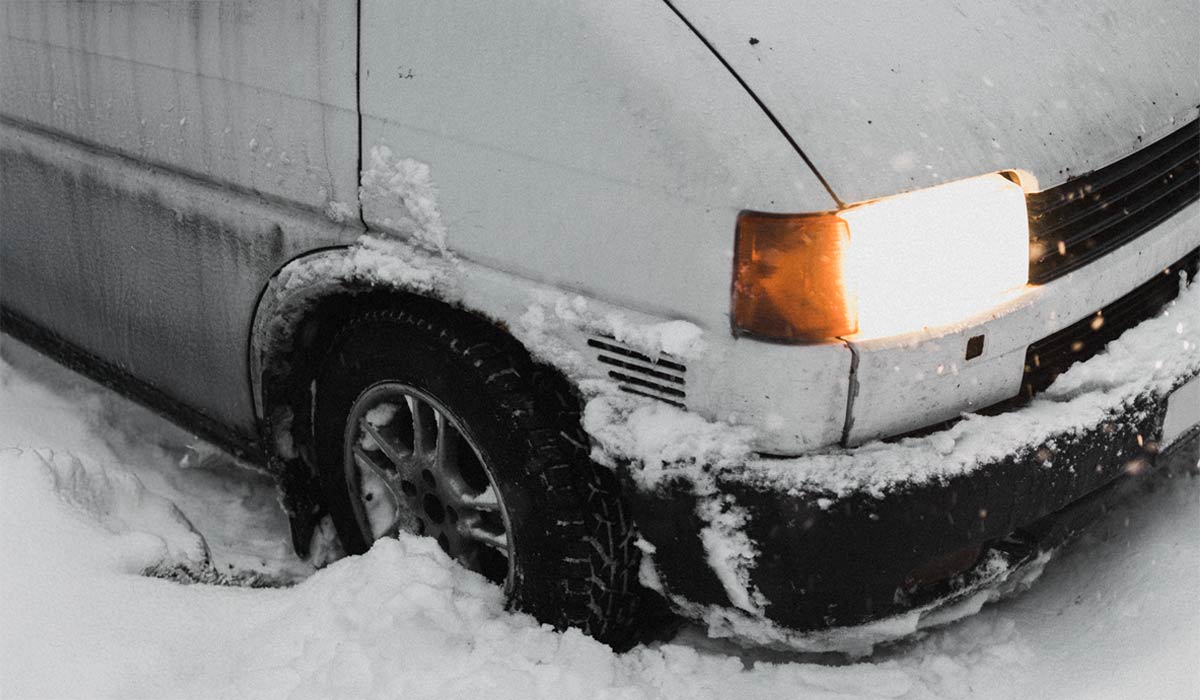
Insulation Tools Required
Your toolkit will generally need to include a serrated bread knife, Stanley Knife, saw, drill and drill bits, mastic gun, spray adhesive and scissors. You may also need gloves and a breathing mask, depending on which type of insulation you’re installing.
Clean and Prepare Your Camper
Start with thoroughly cleaning your vehicle at this stage, as you are probably never going to see the inside of your wall, floor and ceiling panels again!
This is important as you must completely remove any moisture and possible shards of metal from cutting in the windows as these could lead to rust further down the line. Also remove any oil or grease that that may prevent the spray adhesive from sticking.
Ensure that the floor is as level as possible so that when you batten and insulate the floor there are no high spots that will make the floor uneven or rock.
At this stage you may want to fit sound deadening if you are going to use the foil backed bitumen type as it needs to be in direct contact with the panels.
Batten Out the Floor
By battening the floor of your camper, you’ll get a non-compressible space for floor insulation to be inserted into and provide a firm and level foundation on which the rest of your build is based.
I have found that insulating the floor is an area of contention, as some feel that it can lead to being a moisture trap under the insulation as it stops air flow and thus its ability to dry effectively.
A very good point and well worth your consideration when deciding to insulate your floor or not. In order for the floor to lay evenly on the battens they must all be level with each other both along the length and width of the van floor. Try to make the spacing between battens the same width as your chosen insulation to reduce waste and unnecessary cutting.
Fix battens together with screws at their junctions and then fix the whole assembly to the van floor with a polyurethane-based adhesive. Ensure you route any cables that will be required later between the battens before you insert insulation and lay the floor.
Insulate the Walls, Ceiling and Doors
You may want to use one type throughout your camper, or a selection of types of insulation for different areas. For example, foam board or foil backed foam for the larger areas and a fibrous roll for filling cavities.
If using foil covered foam boards, try to leave a 20mm gap between the skin of the van and the foil back of the board so that the foil has space to reflect unwanted radiated heat from entering the van. This can be achieved by sticking 20mm off cuts of insulation to the vehicle skin to provide that stand-off.
If using fibrous roll then use spray adhesive to stick in place.

Fill Any Cavities
Filling cavities with fibrous insulation torn into suitable size pieces to fill the holes will help improve the overall insulation efficiency by not leaving any uninsulated areas behind.
Do not pack insulation in too tightly, as its partly to air trapped within in that retains the heat.
Expanding foam can also be used to fill gaps between sheets or to plug holes.
Install a Vapour Barrier
It’s important to fit a vapour barrier over the insulation, starting with the walls and using spray adhesive to keep it in place. Use aluminium tape to join all edges to make your vapour barrier complete.
This will stop moisture and condensation which builds up in your camper from reaching the insulation materials you’ve just installed, as it can damage or rot them.
Summary: Final Thoughts
In summary, insulating your van is relatively easy and doesn’t require any special skills or tools, but care must be taken in the planning and sequencing of this work so that it doesn’t hinder subsequent conversion tasks.
Equally there will be tasks like routing wiring and possibly pipes before the insulation goes in. Ultimately insulating your van is a very worthwhile and cost-effective way of getting year-round use from your camper, cooler in the summer and warmer in the winter.

Keep your campervan protected
You’re no doubt pouring a lot of time, money, and love into your campervan conversion. Which is why you’ll want to keep your investment protected. Here at Just Kampers Insurance, we offer tailored cover for self-built campervans, so you can continue your journey with peace of mind.
Get in touch with our team today to find out more, or get a quick online quote in minutes.
In this article
- Different Campervan Insulation Materials
- Thermafleece Sheeps Wool
- Lightweight Polyester Fibre
- Rockwool Insulation
- Foil Faced Self-Adhesive Foam
- Foam Board Insulation
- Spray Foam
- How to Install Your Chosen Insulation into Your Campervan
- Insulation Tools Required
- Clean and Prepare Your Camper
- Batten Out the Floor
- Insulate the Walls, Ceiling and Doors
- Fill Any Cavities
- Install a Vapour Barrier
- Summary: Final Thoughts